Last Tuesday I opened my bag at soccer pickup and found a granola bar that had been crushed into what can only be described as gravel. My daughter looked at it, looked at me, and said “that’s not a snack, that’s a science project.” She wasn’t wrong. I’d made those bars on Sunday with so much hope in my heart and by Tuesday they were basically sand.
That’s the thing nobody tells you about meal prepping snacks. It’s not about the recipe, its about whether the thing survives being tossed in a bag with your keys, a half empty water bottle, and whatever else lives at the bottom of a mom purse.
So I sat down and actually tested a bunch of these, sorted out what holds up and what turns into gravel, and wrote it all down here. Grab a snack (a real one, not a science project) and let’s get into it.
How to Batch Prep Snacks in One Sitting
You don’t need a whole Sunday for this, you need about 90 minutes and a plan. Here’s what actually works, pick 3 or 4 recipes from different sections below instead of 4 sweet ones, that way you’re not sick of granola balls by Wednesday.
- Pick one no-cook item, one savory item, and one sweet item (skip the oven if you can)
- Write one shopping list for all recipes together, not three separate ones
- Portion everything into small containers or bags the same day, don’t wait until Tuesday morning
- Label anything going in the freezer with the date, you will not remember otherwise
- Keep 2 or 3 “emergency” no-cook snacks on hand for the days prep just doesn’t happen
One more thing that matters more than people admit, glass jars and containers are great at home but they get heavy in a bag and they break. Silicone bags or a couple compartment boxes are worth the money if you’re packing snacks that leave the house every day.
No-Cook, Zero Effort Snacks
These are for the days you have 90 seconds and a knife, maybe. No stove, no oven, no dishes to think about later.
1. Build-Your-Own Trail Mix
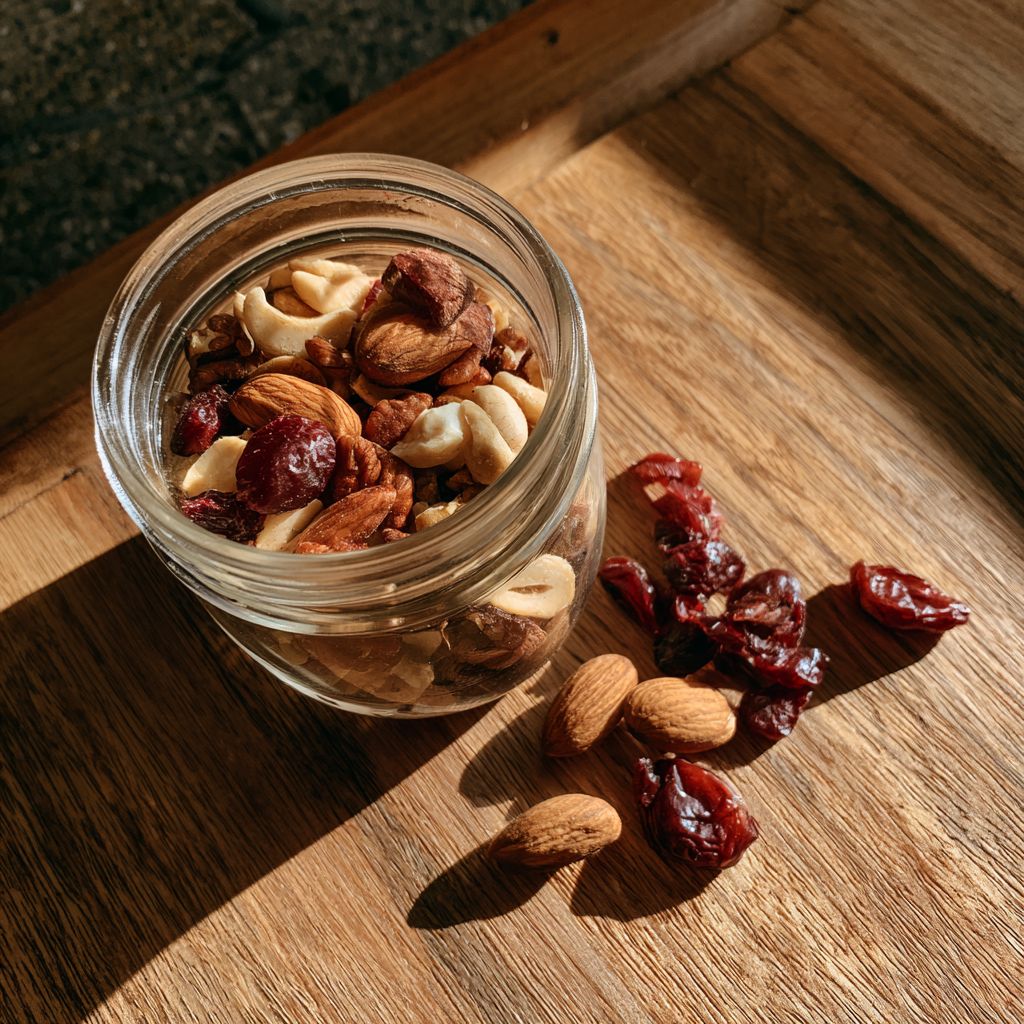
Nuts, seeds, a handful of dried fruit, and if your kids are anything like mine, a few chocolate chips to keep the peace. Mix a big batch and portion it out so nobody eats “just a little” and finishes the whole bowl in one sitting.
Storage: Airtight container, room temperature, lasts about a month.
Travels: Great in a bag, doesn’t need a cooler, doesn’t care about the weather at all.
2. String Cheese and Grapes
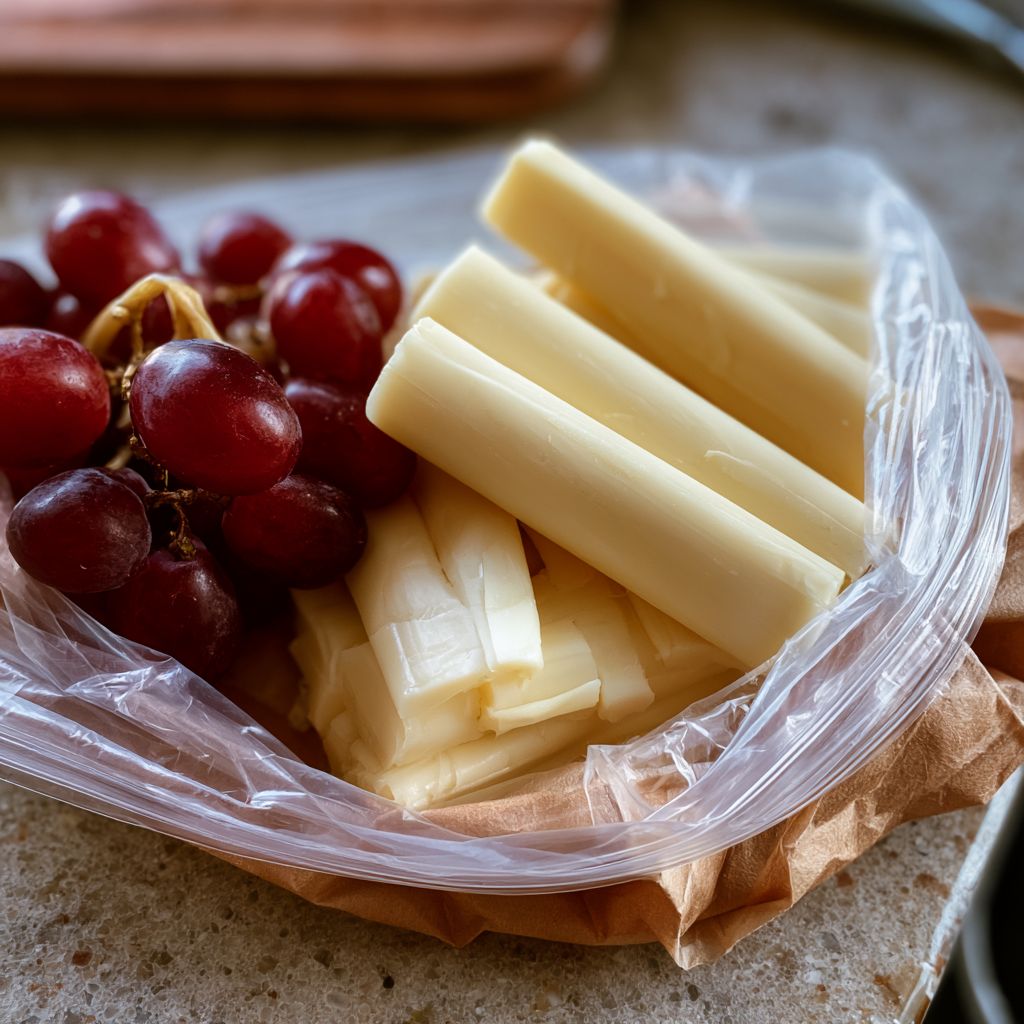
Not much of a recipe, more of a reminder that you don’t have to cook everything to call it meal prep. Wash the grapes and portion the cheese sticks into a bag so they’re grab and go on a busy morning.
Storage: Fridge, up to a week for the cheese, a few days for the grapes before they soften.
Travels: Needs to stay cool-ish, a small ice pack helps if you’re out for a few hours.
3. Hummus Cups With Veggie Sticks
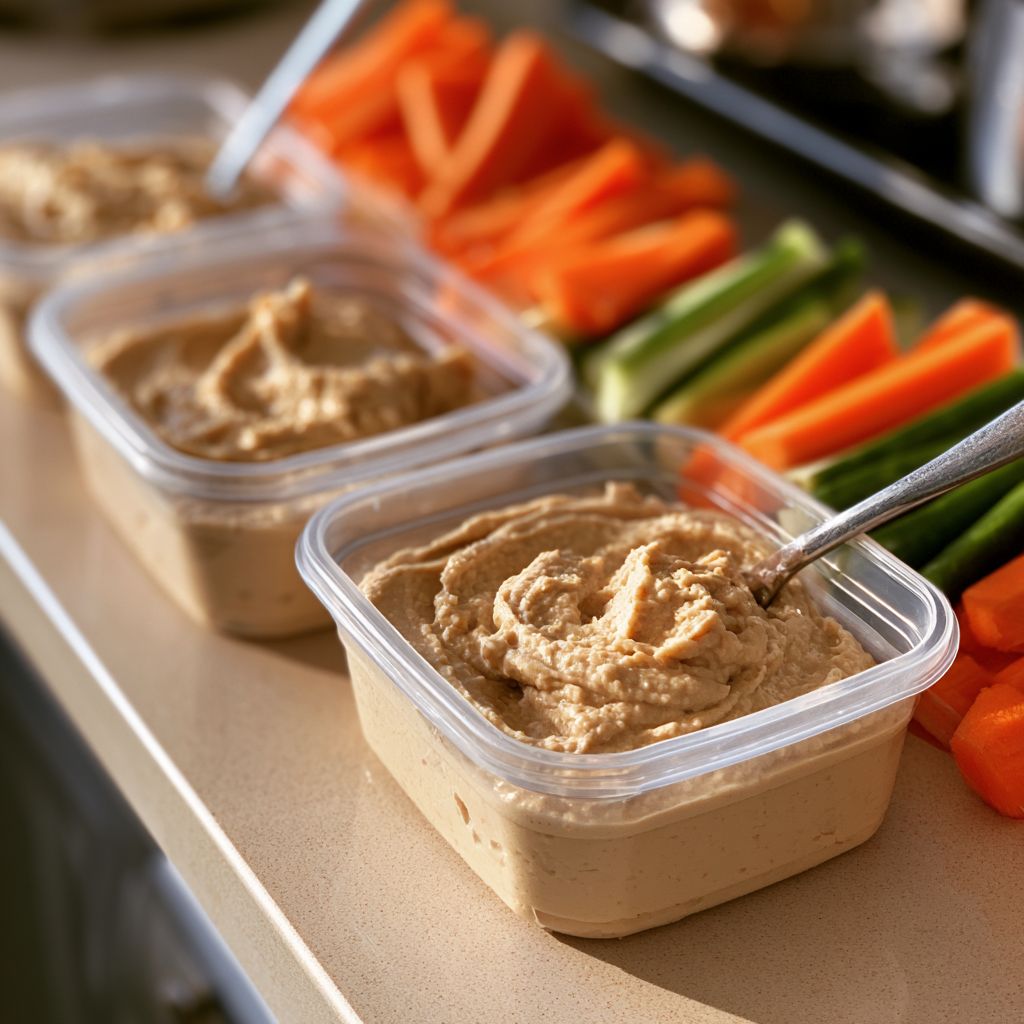
Buy a big tub of hummus and portion it into small cups instead of dragging the whole container everywhere, you’ll use less that way too. Cut carrots, cucumber, and bell pepper into sticks on prep day and you’re set for the week.
Storage: Fridge, hummus lasts about a week, veggies 4 to 5 days if kept dry.
Travels: Pack veggies and hummus separate or the sticks turn a little sad and soggy by lunchtime.
4. Apple Slices and Peanut Butter Packs
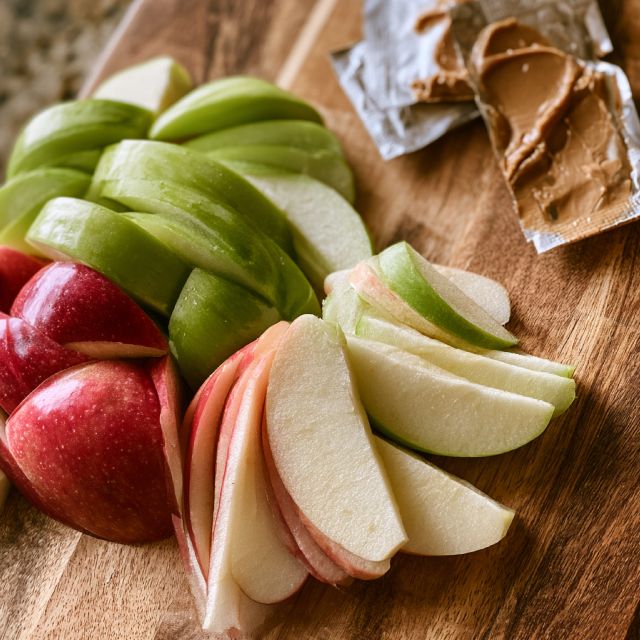
Slice apples and toss them with a little lemon juice so they don’t brown before lunch. Keep the peanut butter in a tiny separate container, single serve peanut butter packs work great here too if you don’t want to measure it out.
Storage: Apples with lemon juice hold up in the fridge about 2 days before they start looking tired.
Travels: Fine at room temperature for a few hours, keep the peanut butter sealed so it doesn’t leak.
5. Frozen Edamame, Thawed and Salted
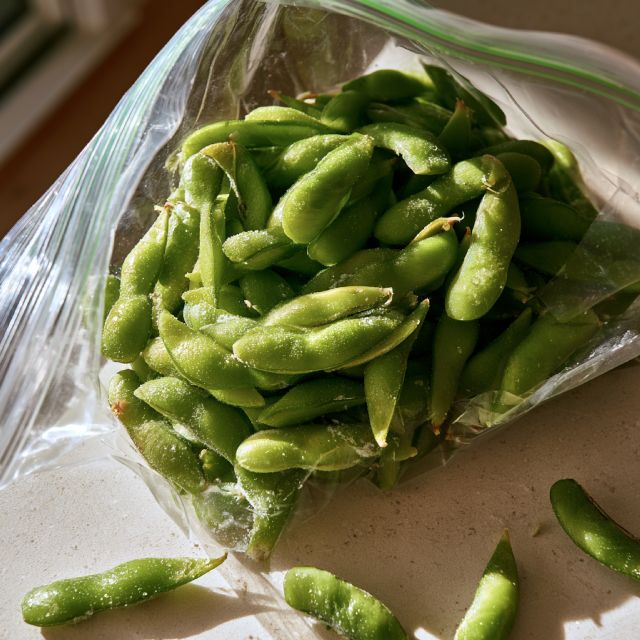
This one barely counts as prep and that’s exactly why it belongs on this list. Buy a bag of frozen edamame, boil or microwave it once, then portion it into containers for the week.
Storage: Fridge, about 4 days once cooked.
Travels: Good cold or at room temp, doesn’t fall apart in a bag.
6. Cheese Cubes and Crackers
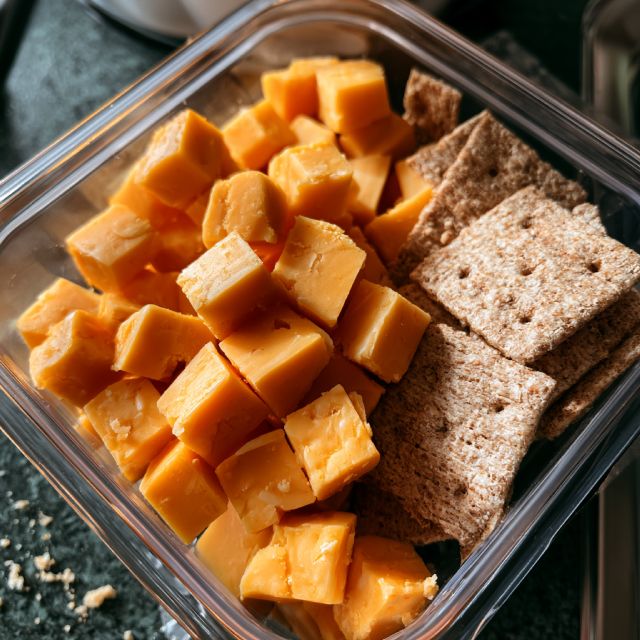
Cut a block of cheddar or gouda into cubes on prep day, portion crackers into their own little bags, and you’ve got something that feels like a snack box you’d pay six dollars for at the airport.
Storage: Cheese cubes keep about a week in the fridge, crackers keep at room temp for weeks.
Travels: Pack them in separate compartments so the crackers stay crunchy.
Savory and Protein-Forward Snacks
This is the section most snack lists skip, which is weird because half the time what you actually want isn’t sweet at all. These keep you fuller longer too.
7. Hard-Boiled Eggs
Prep: 2 minutes
Cook: 9-12 minutes
Makes: however many you want
- Eggs (as many as fit in a single layer in your pot)
- Water to cover
- Ice for the ice bath
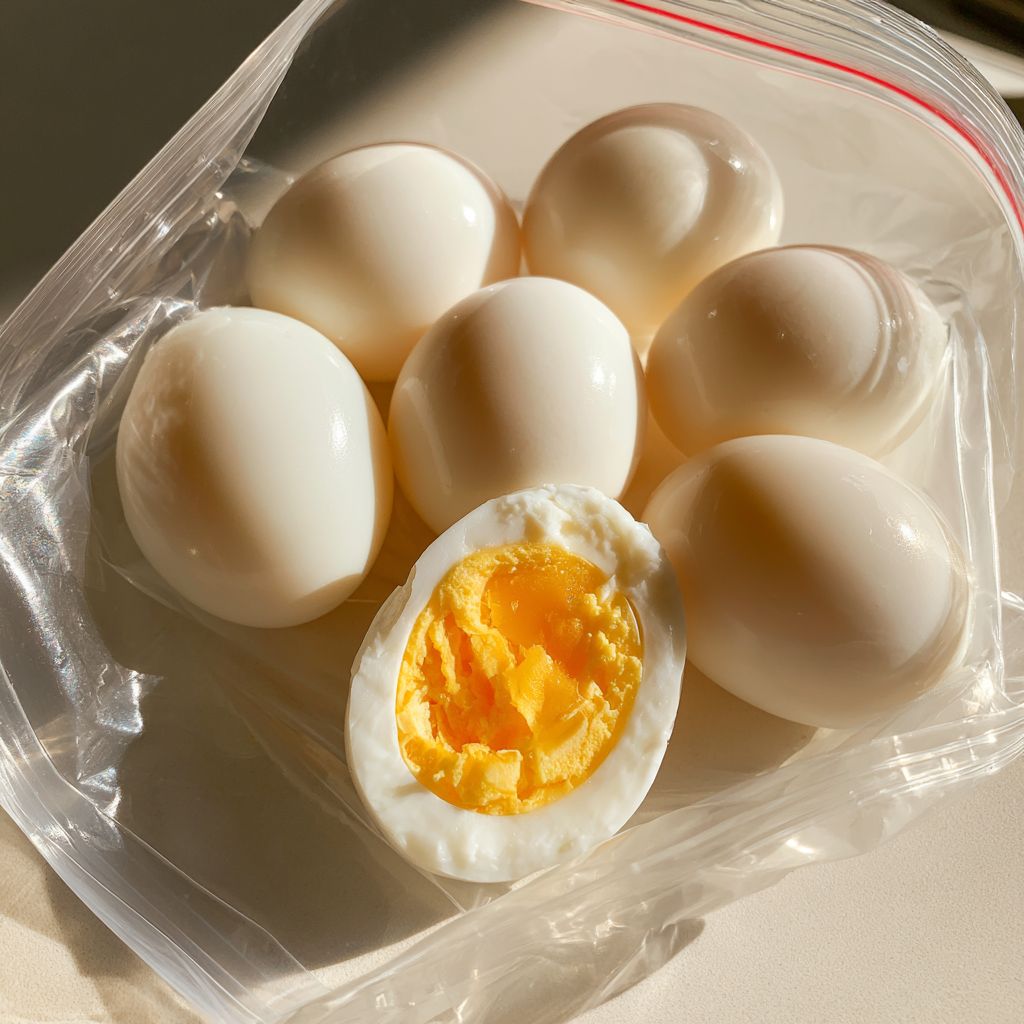
- Place eggs in a single layer in a pot, cover with cold water by about an inch. Bring to a boil over high heat, then turn off the heat, cover, and let sit:
- 9 minutes for a slightly soft, jammy center
- 10 minutes for a mostly firm yolk with a little softness
- 12 minutes for a fully firm, classic hard-boiled yolk
While they sit, fill a bowl with ice and water. Transfer the eggs straight into the ice bath the moment the timer’s up, this stops the cooking and makes them way easier to peel. Let them sit in the ice bath at least 5 minutes before peeling.
Storage: Fridge, peeled or unpeeled, about a week.
Travels: Fine without a cooler for a short trip, but don’t leave them in a hot car all day.
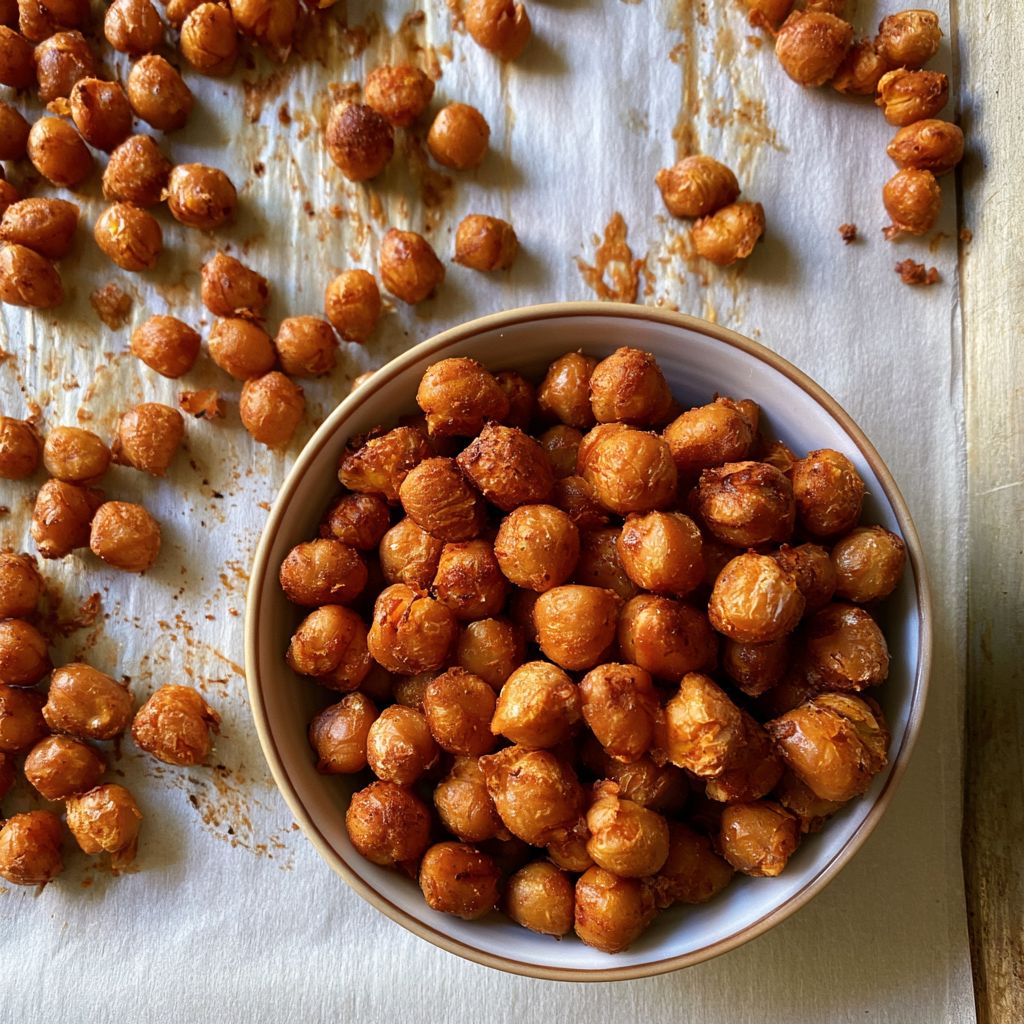
8. Roasted Chickpeas
Prep: 5 minutes
Cook: 30-35 minutes
Makes: about 2 cups
- 2 cans (15 oz each) chickpeas, drained and rinsed
- 2 tablespoons olive oil
- 1 teaspoon smoked paprika
- 1/2 teaspoon garlic powder
- 1/2 teaspoon salt
Preheat oven to 400°F. Dry the chickpeas really well with a towel, this is the step that determines if they crisp up or stay soft. Toss with oil, paprika, garlic powder, and salt. Spread in a single layer on a baking sheet. Roast 30 to 35 minutes, shaking the pan halfway through, until deep golden and crunchy. Cool completely before storing or they’ll steam themselves soft.
Storage: Room temperature in an open-ish container for 2 to 3 days, they lose their crunch if sealed too tight while warm.
Travels: Great for a bag, if they go soft just toss them back in the oven for a few minutes to crisp back up.
9. Turkey and Cheese Roll-Ups
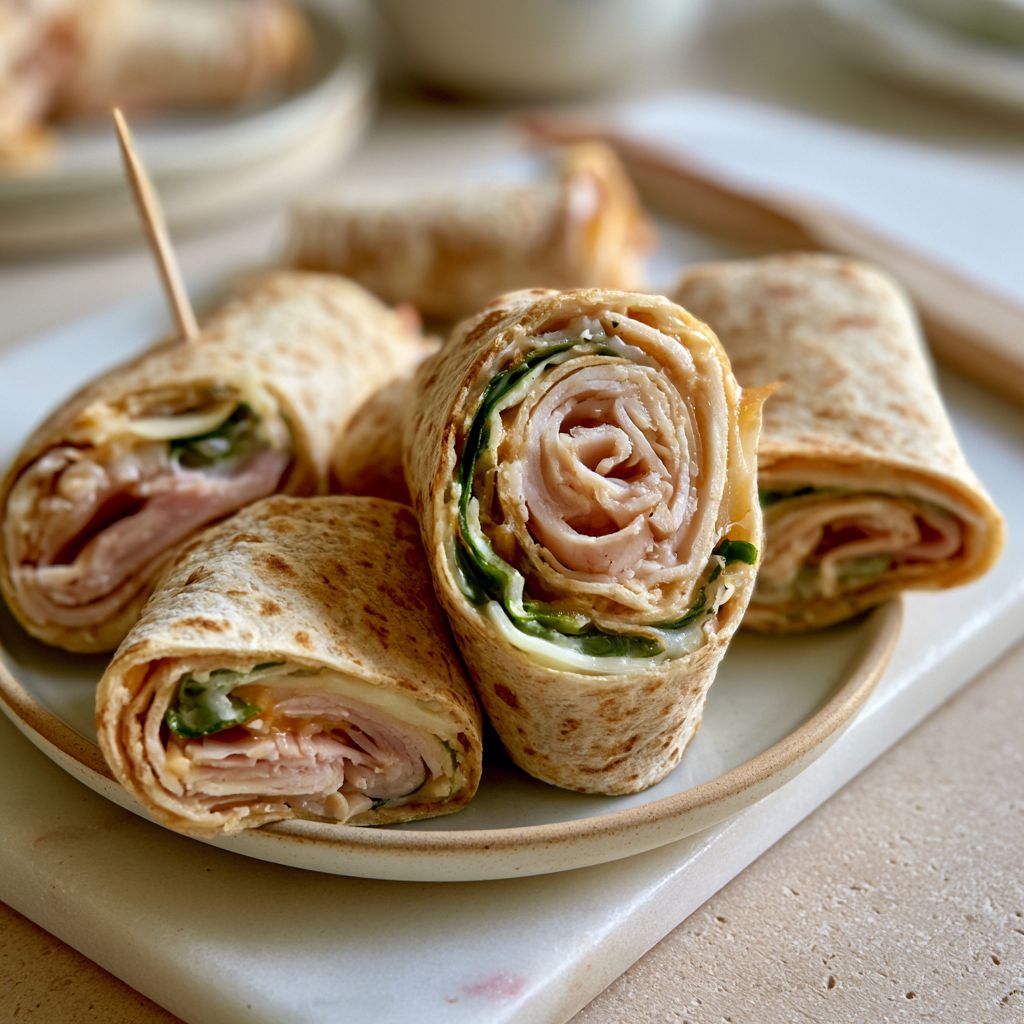
Roll a slice of cheese inside a slice of turkey, a toothpick holds it together if you’re feeling fancy about it. Add a couple pickles or cucumber slices on the side for crunch.
Storage: Fridge, 3 to 4 days, they’re a lunch meat product so don’t push it past that.
Travels: Needs to stay cold, pack with an ice pack if you’re out more than an hour or two.
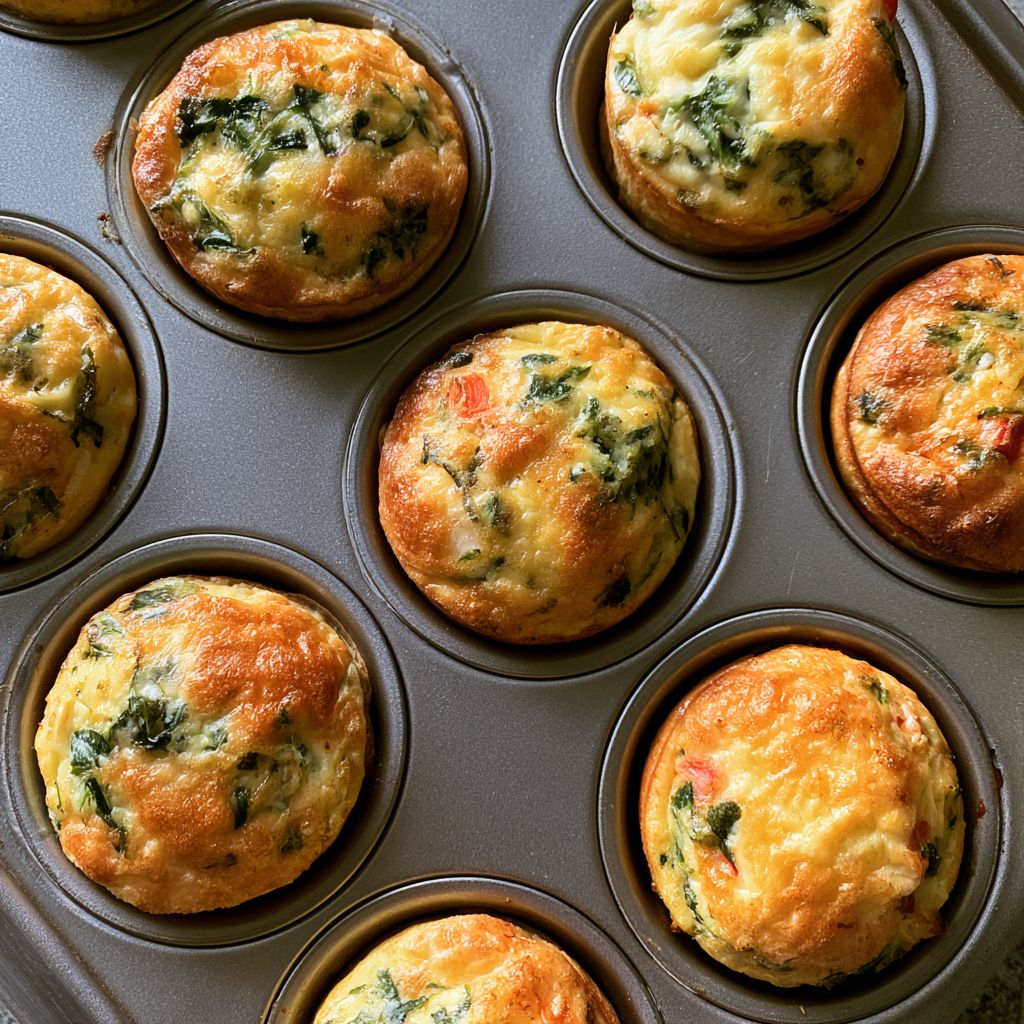
10. Veggie and Cheese Egg Muffins
Prep Time: 10 minutes
Cook Time: 18-20 minutes
Makes: 12 muffins
Ingredients
- 8 large eggs
- 1/4 cup milk (any kind works)
- 1 cup fresh spinach, chopped small
- 1/2 cup bell pepper, diced small (any color)
- 3/4 cup shredded cheddar or Mexican blend cheese
- 1/4 teaspoon salt
- A few cracks of black pepper
- Nonstick spray or muffin liners
Instructions
- Preheat the oven to 350°F. Grease a 12-cup muffin tin really well or use silicone liners, this is the step people skip and then the eggs stick to everything.
- Whisk the eggs and milk together in a bowl until it’s smooth and a little frothy on top.
- Stir in the spinach, bell pepper, cheese, salt, and pepper.
- Pour the mix evenly into the muffin cups, filling each one about 3/4 of the way up, they puff up a bit in the oven so don’t overfill.
- Bake for 18 to 20 minutes, until the centers are set and don’t jiggle when you nudge the pan.
- Let them cool in the tin for 5 minutes before popping them out, they deflate a little as they cool and that’s normal.
Notes: Swap the spinach and bell pepper for whatever’s in your fridge, mushrooms, broccoli, or diced ham all work fine. If they stick a little even with grease, run a butter knife around the edge before popping them out.
11. Cottage Cheese Cups With Pineapple
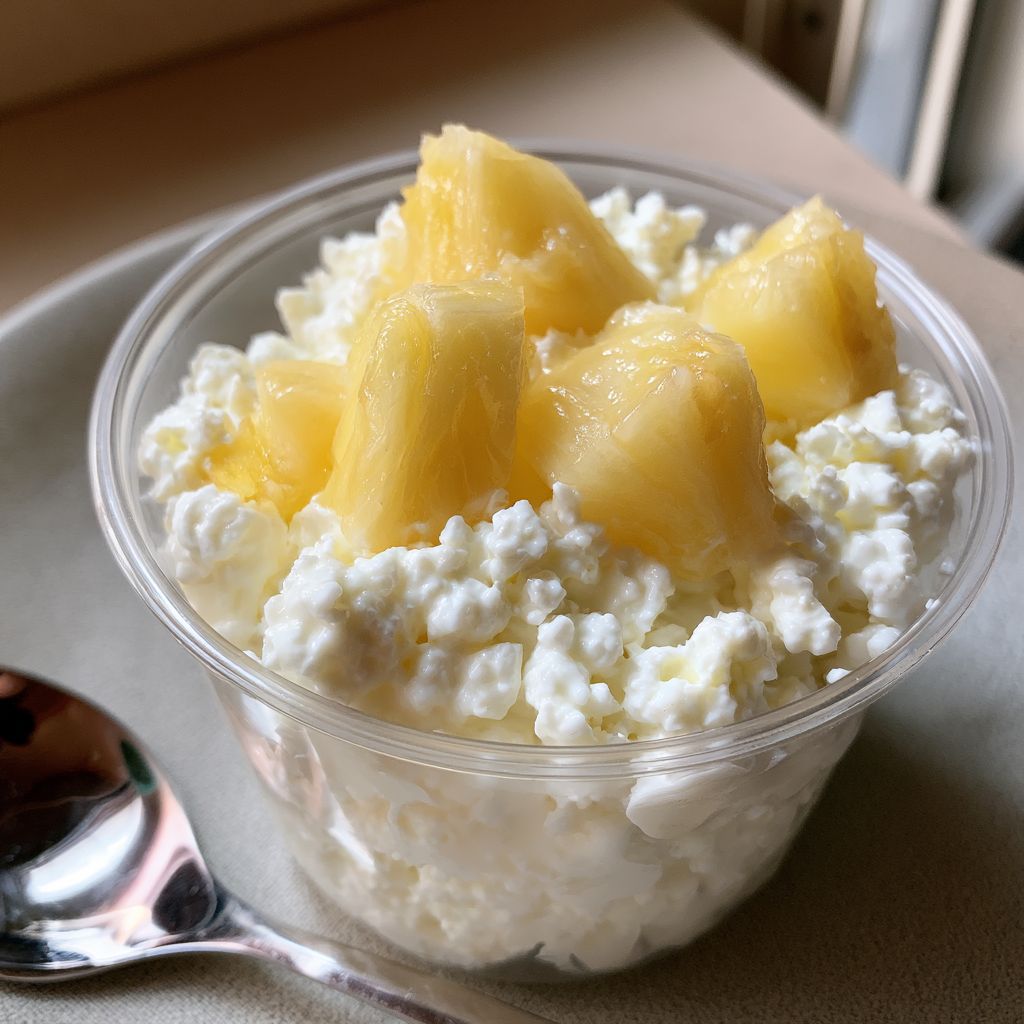
Cottage cheese doesn’t get enough credit honestly. Portion it into small cups and top with pineapple or peaches for something sweet and savory at the same time.
Storage: Fridge, best within 3 to 4 days once portioned and opened.
Travels: Keep it cold, sealed lid, this one really does need a cooler bag.
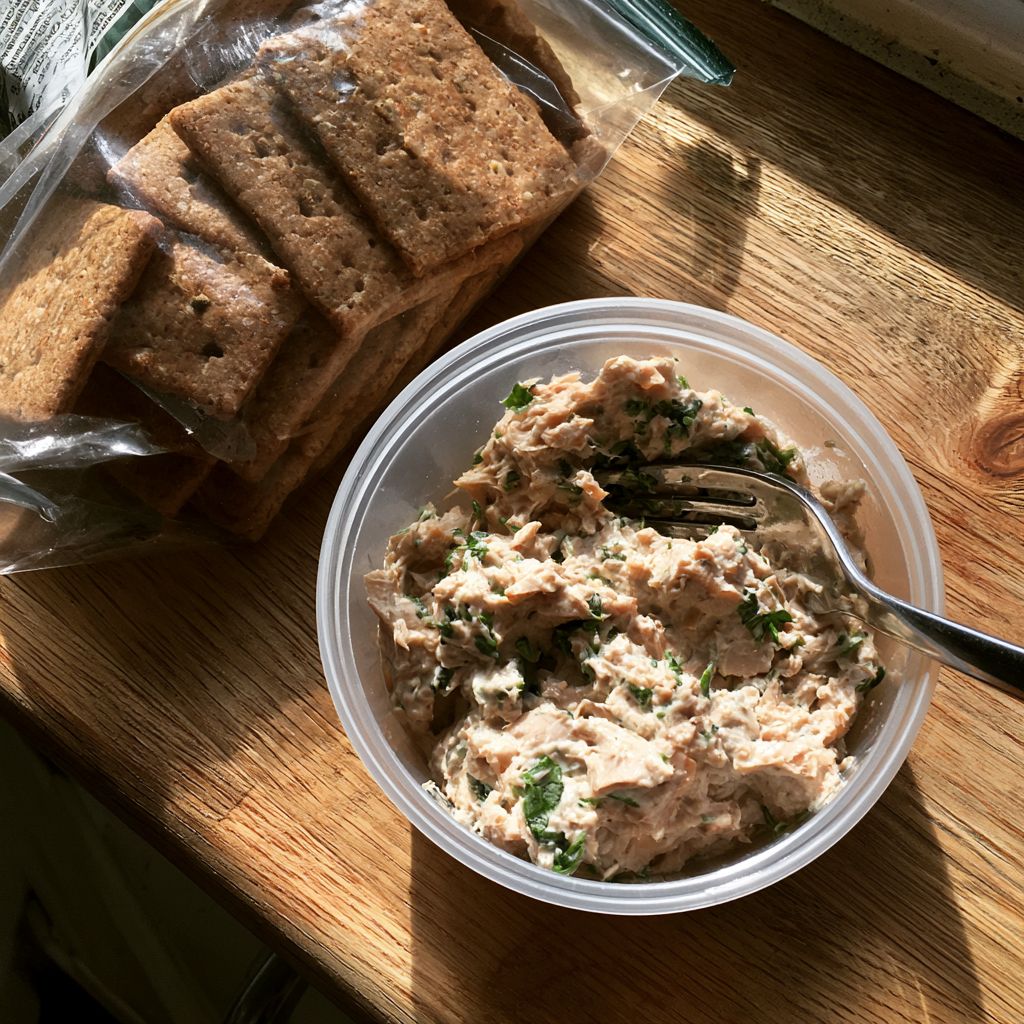
12. Tuna Salad Cups With Crackers
Prep: 5 minutes
Makes: 2 servings
- 1 can (5 oz) tuna, drained well
- 2 tablespoons mayo
- 1 tablespoon plain Greek yogurt
- 2 tablespoons chopped celery
- Squeeze of lemon juice
- Salt and pepper to taste
The 2:1 ratio of mayo to yogurt keeps it creamy without tasting like a diet version of itself. Mix everything together in a bowl, adjust the mayo-to-yogurt ratio depending on how rich you want it, more yogurt for lighter, more mayo for creamier. Portion into small containers.
Storage: Fridge, 2 to 3 days once mixed.
Travels: Needs a cooler, keep the crackers away from the tuna entirely.
13. Savory Zucchini Muffins
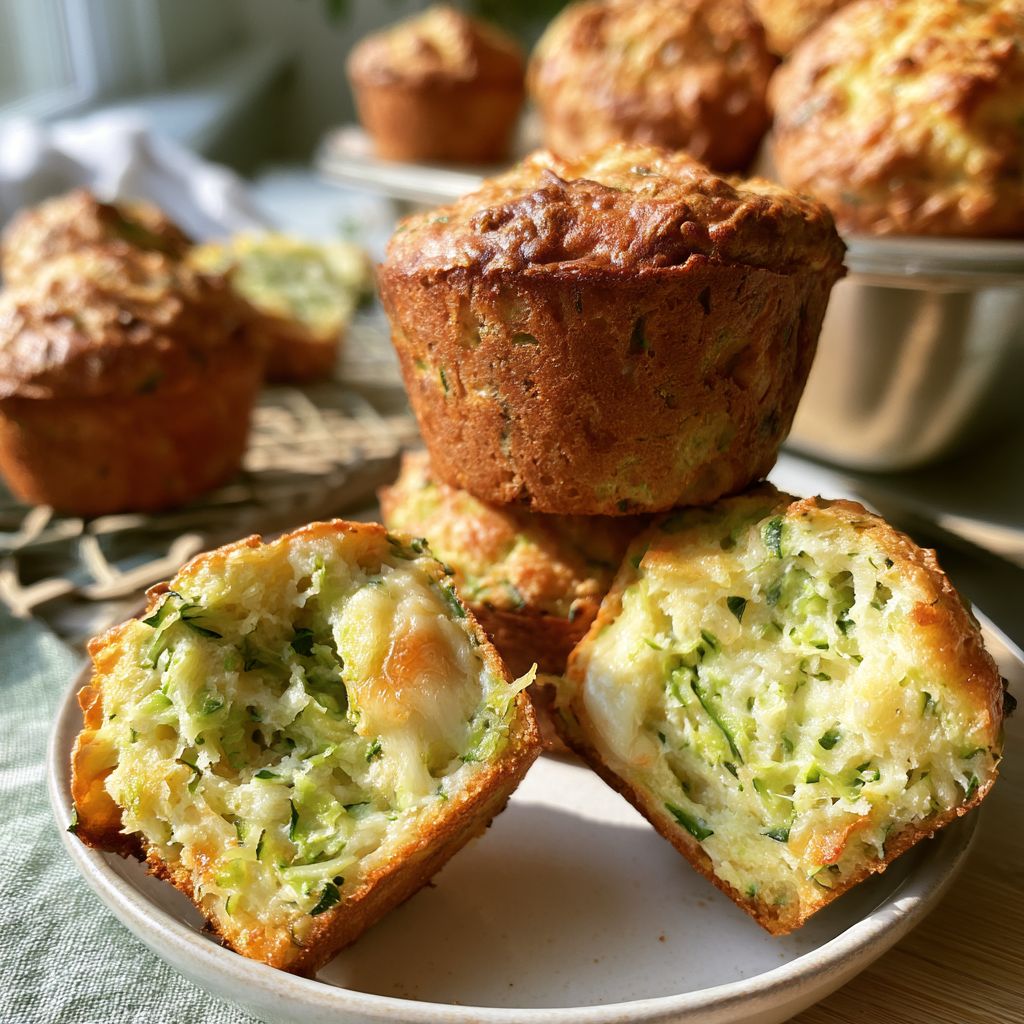
Shredded zucchini or carrot mixed into a muffin batter with cheese and a little herb, these use up whatever’s going soft in the crisper drawer and nobody has to know there’s a vegetable in there.
Storage: Fridge for 5 days, or freeze extras and thaw as needed.
Travels: Doesn’t leak, holds up fine at room temperature for a few hours.
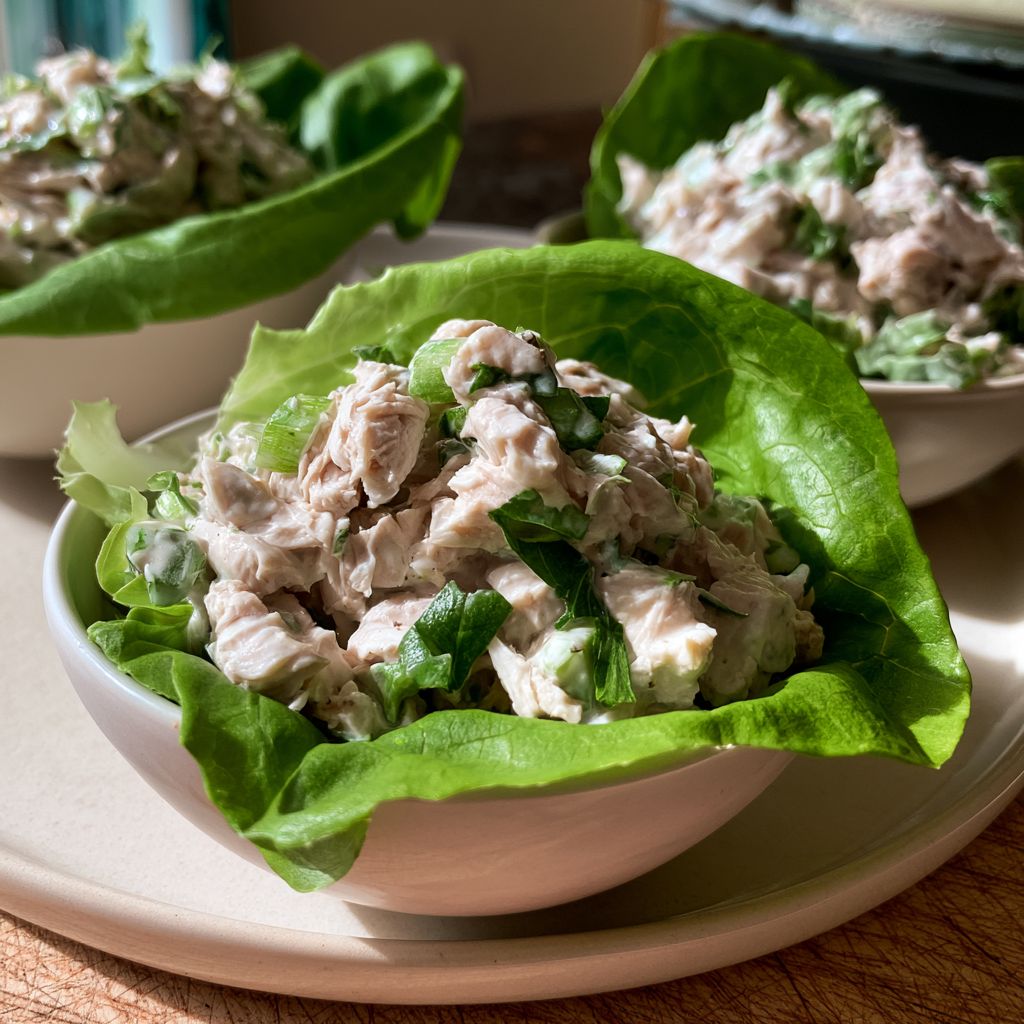
14. Chicken Salad Lettuce Cups
Prep: 10 minutes
Makes: 3-4 servings
- 2 cups shredded cooked chicken
- 1/3 cup mayo
- 2 tablespoons plain Greek yogurt
- 1/4 cup diced celery
- 2 tablespoons diced red onion (optional)
- Salt and pepper to taste
- Lettuce leaves for serving
Same idea as the tuna, roughly a 3:1 mayo to yogurt ratio keeps it from being too tangy while still lightening it up a little. Mix the chicken, mayo, yogurt, celery, and onion together until evenly coated.
Season with salt and pepper. Store the chicken salad and lettuce leaves in separate containers, scoop into the lettuce right before eating.
Storage: Fridge, chicken salad keeps 3 to 4 days.
Travels: Cooler needed, this is not a leave it in the car snack.
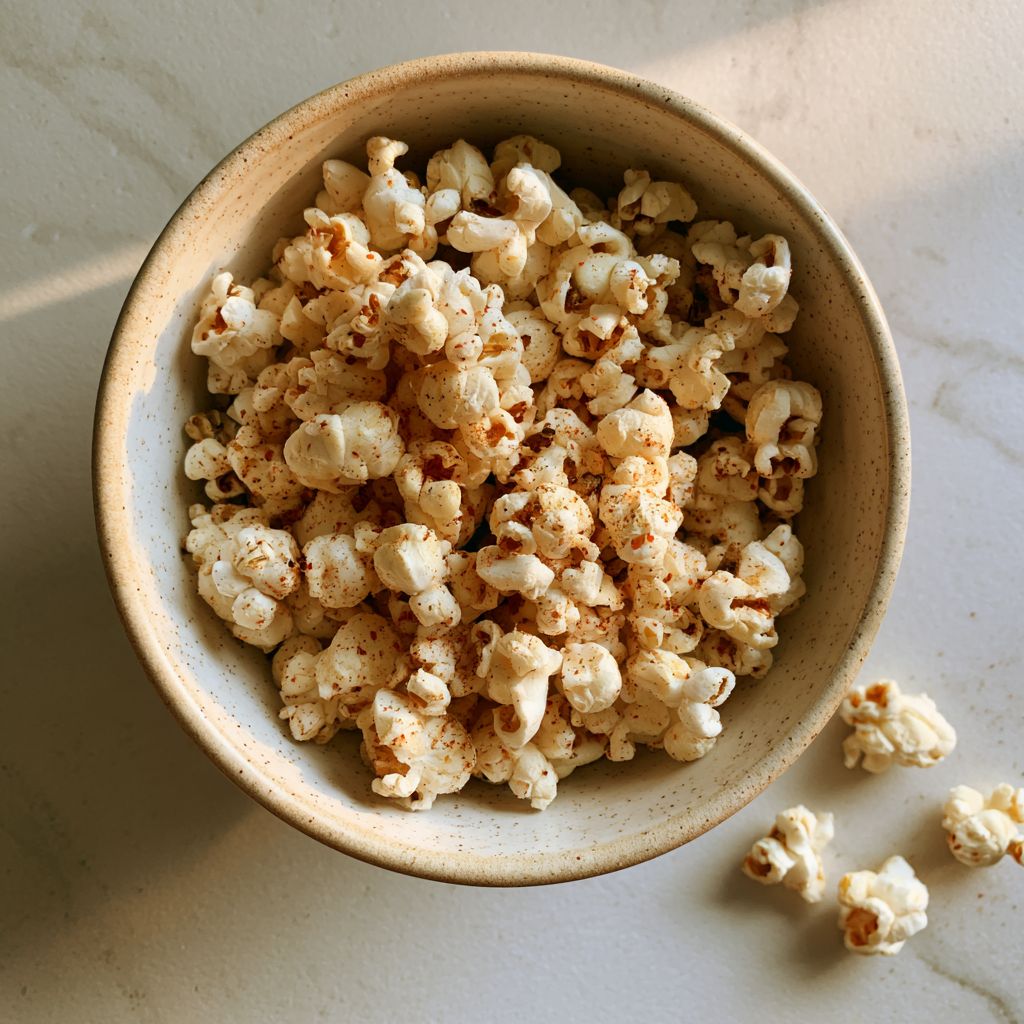
15. Seasoned Popcorn
Prep: 2 minutes
Cook: 3-5 minutes
Makes: about 8 cups
- 1/3 cup popcorn kernels
- 2 tablespoons neutral oil (avocado or vegetable)
- 2 tablespoons nutritional yeast, or 2 tablespoons grated parmesan
- 1/2 teaspoon smoked paprika
- 1/2 teaspoon salt
Heat the oil in a large pot over medium-high heat with 3 kernels dropped in, once those pop, add the rest of the kernels in an even layer. Cover, and shake the pot occasionally as it pops. Once popping slows to a few seconds between pops, take it off the heat. Immediately toss with nutritional yeast (or parmesan), paprika, and salt while it’s still warm, the seasoning sticks better to warm popcorn. Let cool completely before storing.
Storage: Airtight container at room temp, 3 to 4 days before it loses its crunch.
Travels: Great in a bag, cheap, and it doesn’t care about heat or cold.
Sweet, But Actually Healthy Snacks
Every list needs a little sweetness, here’s mine, kept to a section instead of taking over the whole post.
16. No-Bake Energy Bites
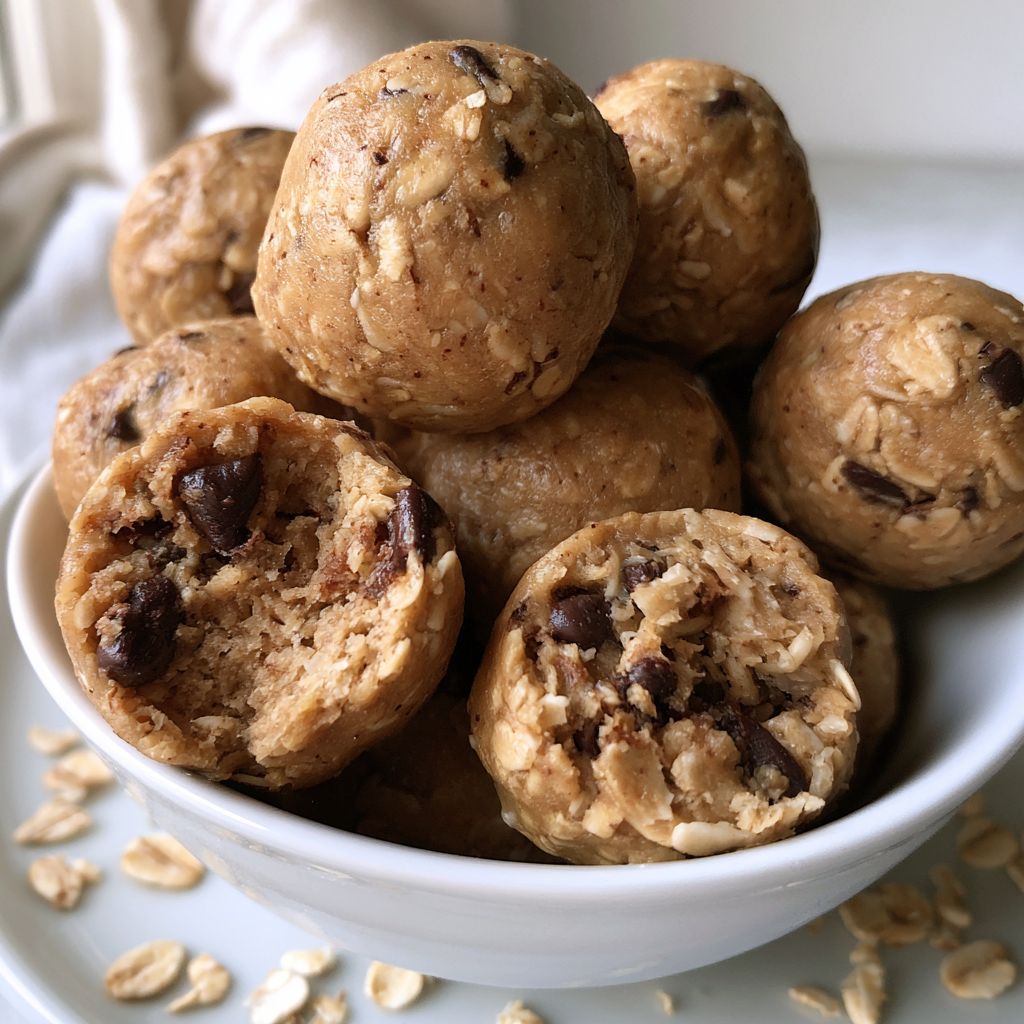
Oats, peanut butter, a little honey, roll into balls and chill. This is the one everybody makes for a reason, it’s fast and it actually holds together in a bag (full recipe is below if you want exact amounts). Check out an easy recipe here.
Storage: Fridge for a week, freezer for 2 months.
Travels: Doesn’t melt, doesn’t crumble, one of the best bag snacks on this whole list.
17. Homemade Granola Bars
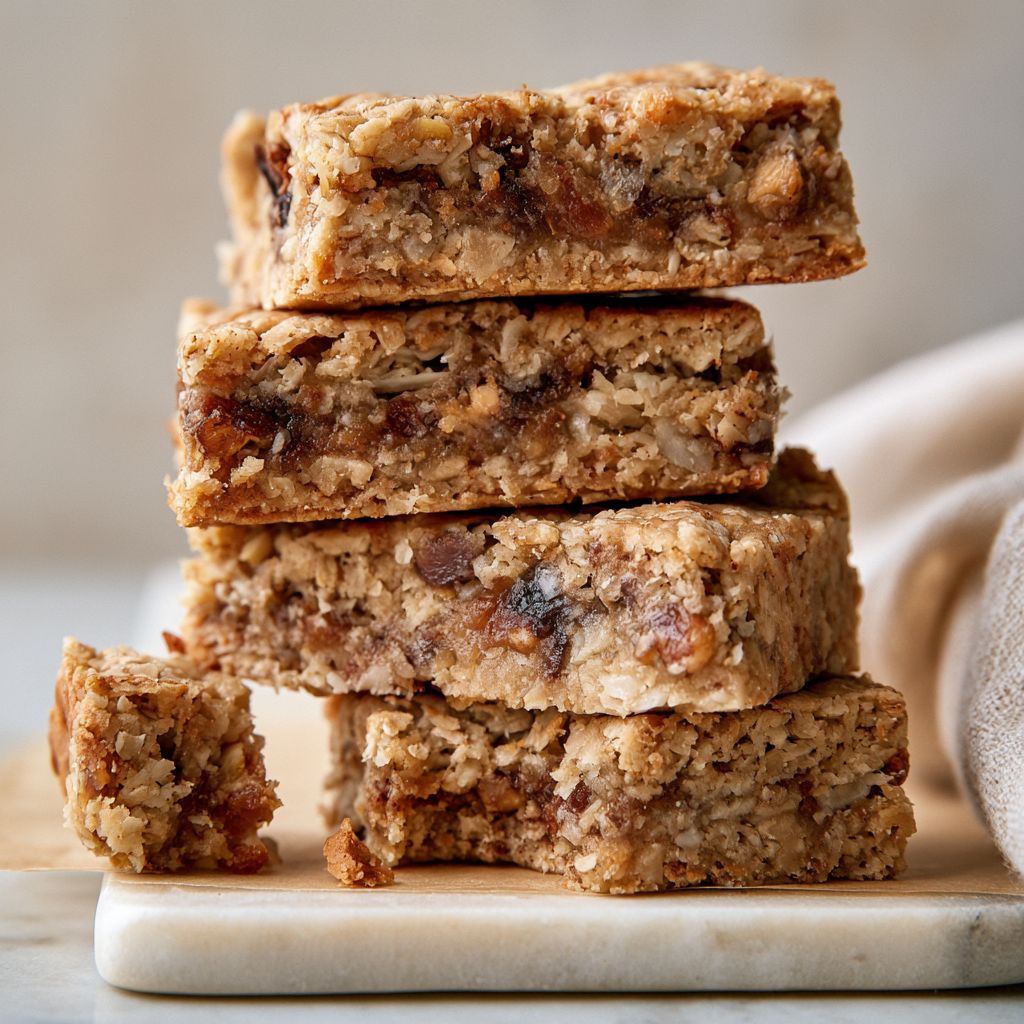
Prep: 10 minutes
Chill: 1 hour
Makes: 12 bars
- 2 1/2 cups rolled oats
- 1/2 cup nut butter
- 1/3 cup honey
- 2 tablespoons melted coconut oil
- 1/2 cup mix-ins (chopped nuts, dried fruit, mini chocolate chips)
- 1/4 teaspoon salt
Line an 8×8 pan with parchment. Warm the nut butter, honey, and coconut oil together in a pan or microwave just until melted and stirred smooth. Stir in the oats, mix-ins, and salt until fully coated. Press very firmly into the pan, use the back of a measuring cup to really pack it down, this is what keeps the bars from falling apart. Chill at least 1 hour before cutting into 12 bars.
Storage: Room temperature for about 5 days if wrapped tight, or freeze them individually.
Travels: Wrap each one on its own or you get the gravel situation I mentioned earlier.
18. Chia Pudding Cups
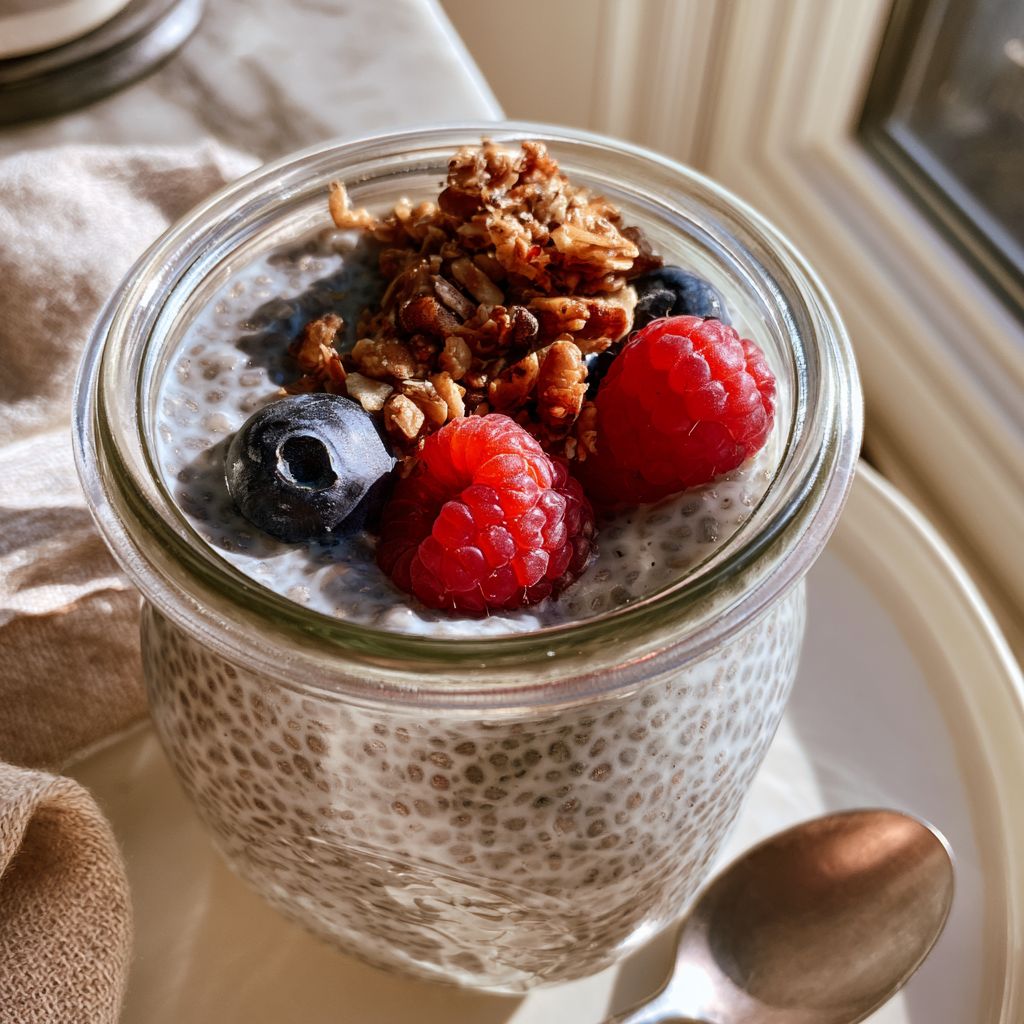
Prep: 5 minutes
Chill: Overnight
Makes: 2 servings
- 1/4 cup chia seeds
- 1 cup milk (dairy or plant-based)
- 1 tablespoon maple syrup or honey
- 1/2 teaspoon vanilla extract
Whisk everything together in a jar or bowl. Let it sit 5 minutes, then whisk again to break up any clumps that settled. Cover and refrigerate at least 4 hours, overnight is better. Stir before eating, it thickens more than people expect.
Storage: Fridge, about 5 days.
Travels: Needs to stay cool, pack toppings separate.
19. Overnight Oats
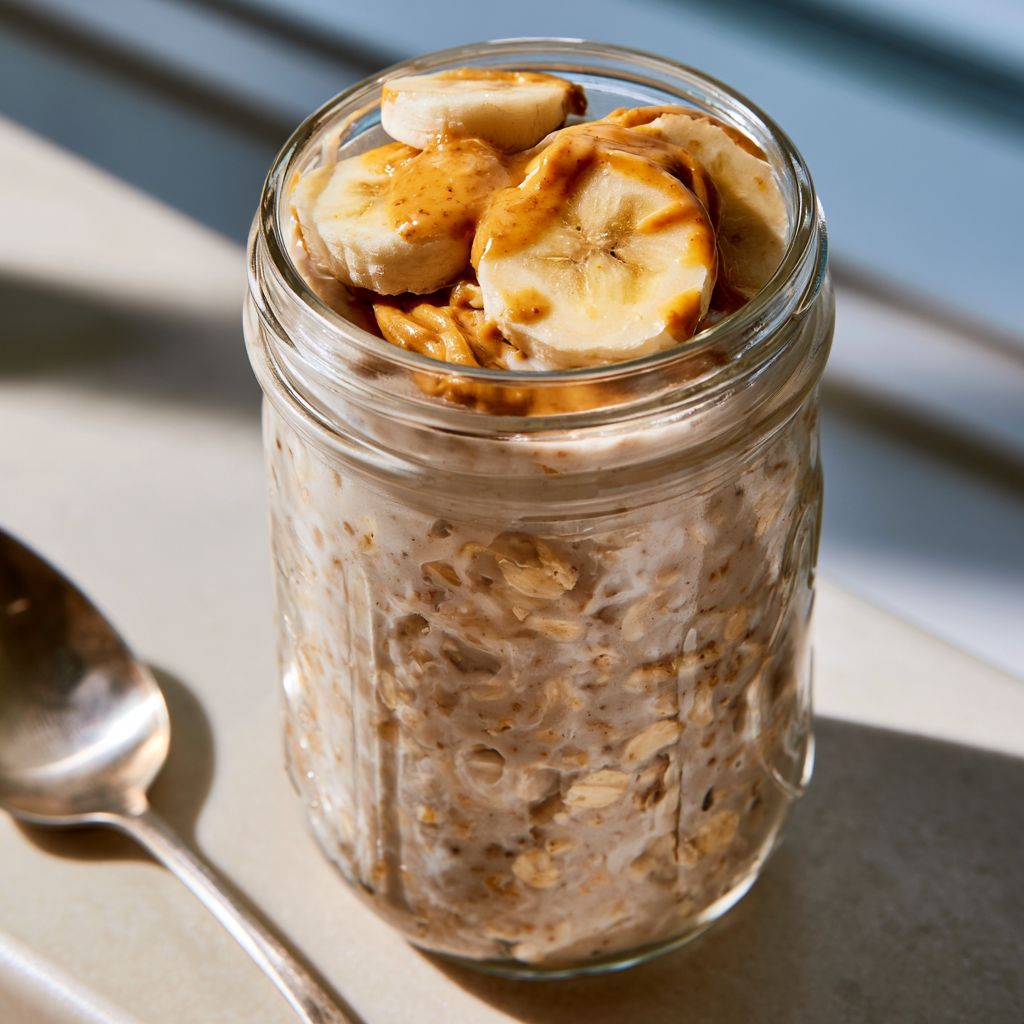
Prep: 5 minutes | Chill: overnight | Makes: 1 serving
- 1/2 cup rolled oats
- 1/2 cup milk
- 1/4 cup yogurt
- 1 teaspoon honey or maple syrup
- Pinch of cinnamon
Stir everything together in a jar with a lid. Refrigerate overnight, at least 6 hours. In the morning, stir and add a splash more milk if it’s too thick, top with fruit or nut butter right before eating.
Storage: Fridge, up to 5 days.
Travels: Fine at your desk for a few hours, not a car-all-day snack.
20. Yogurt and Berry Parfaits
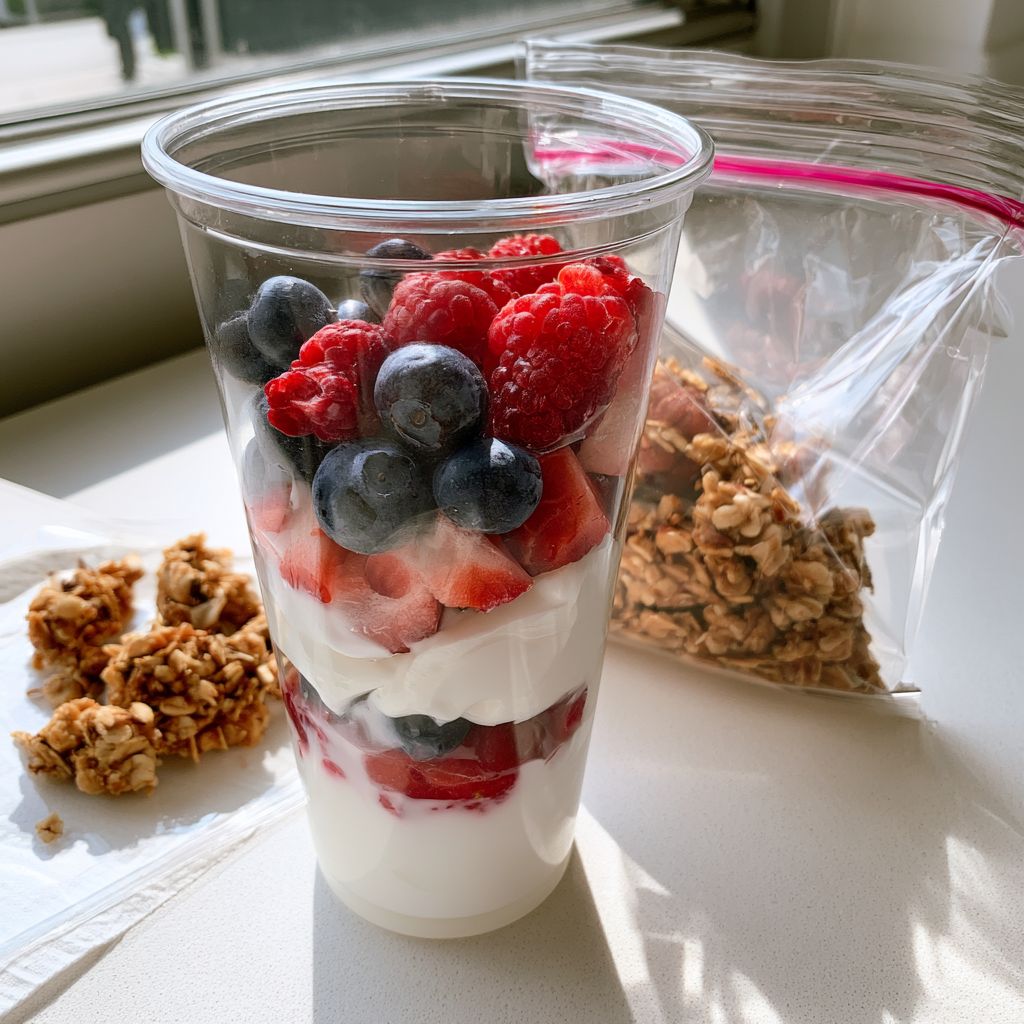
Layer yogurt and berries in a jar, keep granola in its own little bag so it doesn’t go soft sitting in the yogurt all week. Add the granola right before you eat it.
Storage: Fridge, 3 to 4 days for the yogurt and berry part.
Travels: Cooler needed, glass jars are heavy though so pick a light plastic one for on-the-go days.
21. Baked Oatmeal Squares
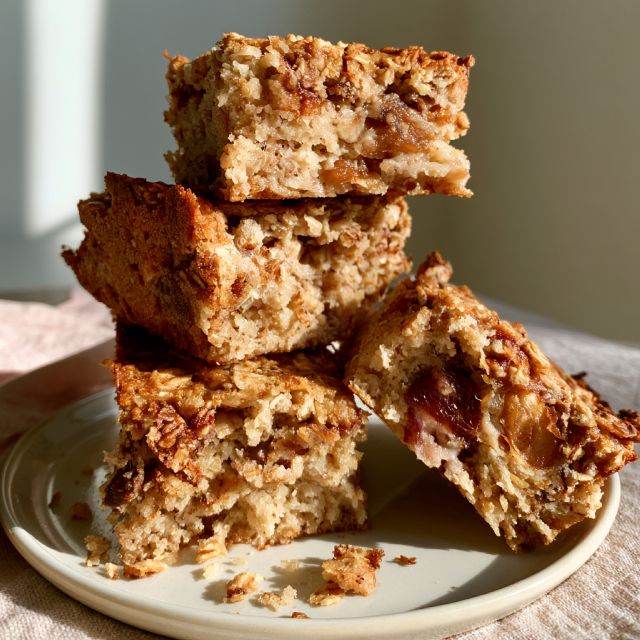
Prep: 10 minutes
Cook: 30-35 minutes
Makes: 9 squares
- 2 cups rolled oats
- 1/2 cup milk
- 2 eggs
- 1/3 cup maple syrup
- 1/4 cup melted butter or oil
- 1 teaspoon baking powder
- 1 teaspoon vanilla extract
- 1 cup diced fruit (apple, banana, or berries)
Preheat oven to 350°F, grease an 8×8 pan. Whisk milk, eggs, maple syrup, melted butter, baking powder, and vanilla together. Stir in the oats and fruit. Pour into the pan and bake 30 to 35 minutes until set and lightly golden on top. Cool completely before cutting, they firm up as they cool.
Storage: Fridge for 5 days, freezer for 2 months.
Travels: One of the sturdiest things on this whole list honestly.
22. Banana Oat Breakfast Cookies
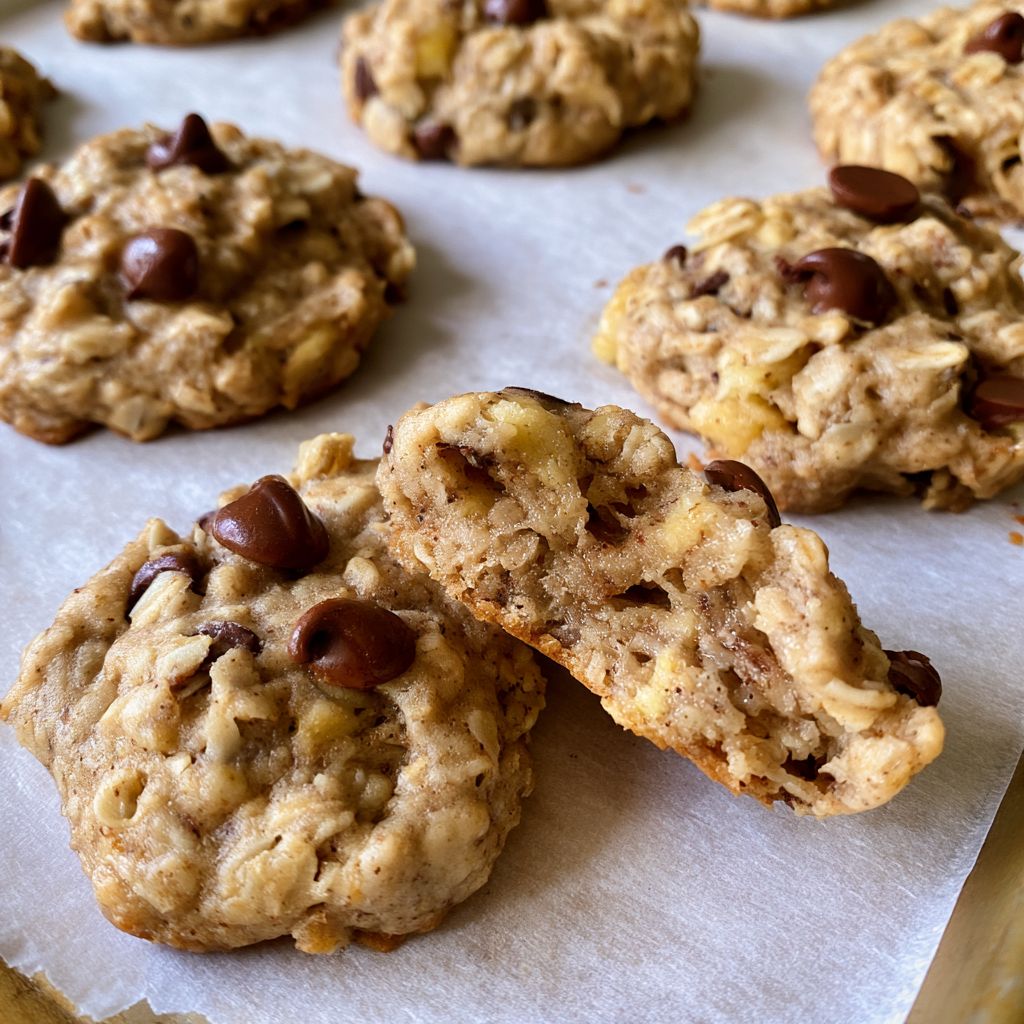
Prep: 10 minutes
Cook: 12-14 minutes
Makes: 12 cookies
- 2 ripe bananas, mashed
- 1 3/4 cups rolled oats
- 1/4 cup nut butter
- 1/4 cup mini chocolate chips (optional)
- 1/2 teaspoon cinnamon
- Pinch of salt
Preheat oven to 350°F, line a baking sheet with parchment. Mix the mashed banana and nut butter together until smooth. Stir in the oats, chocolate chips, cinnamon, and salt. Scoop into 12 mounds on the baking sheet and flatten slightly with your palm, they don’t spread much on their own. Bake 12 to 14 minutes until the edges are set.
Storage: Room temp for 2 days, fridge for a week, freezer for a couple months.
Travels: Soft but not messy, good for a lunchbox or a bag.
23. No-Bake Coconut Date Bites
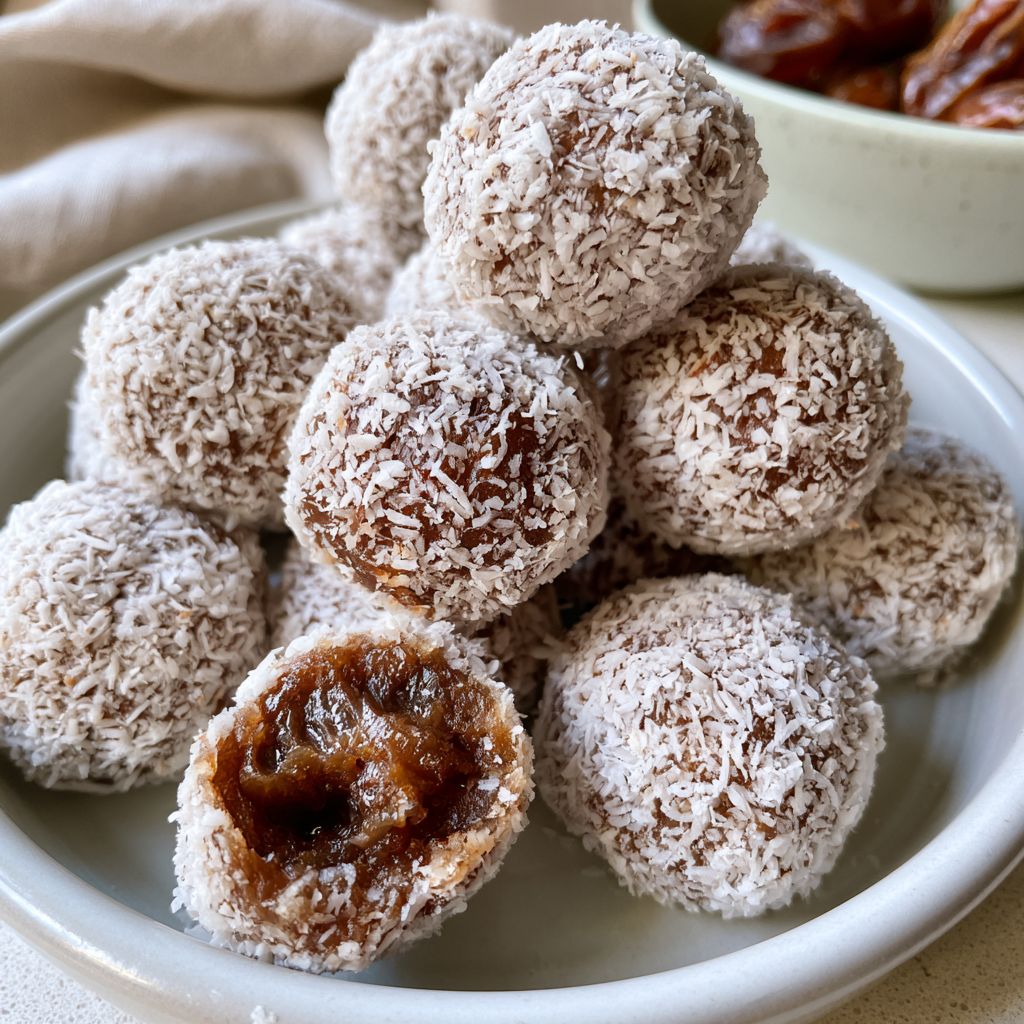
Prep: 10 minutes
Chill: 20 minutes
Makes: 14 bites
- 1 1/2 cups pitted Medjool dates
- 1 cup shredded coconut, divided
- 2 tablespoons coconut oil
- Pinch of salt
If your dates feel dry, soak them in warm water for 10 minutes, then drain well. Add dates, 3/4 cup of the coconut, coconut oil, and salt to a food processor, blend until it forms a sticky ball. Roll into 14 small balls, then roll each one in the remaining 1/4 cup coconut to coat. Chill 20 minutes to firm up before storing.
Storage: Fridge for a week, freezer for 2 months.
Travels: Sturdy, doesn’t melt, good for hot weather.
24. Dark Chocolate and Almonds
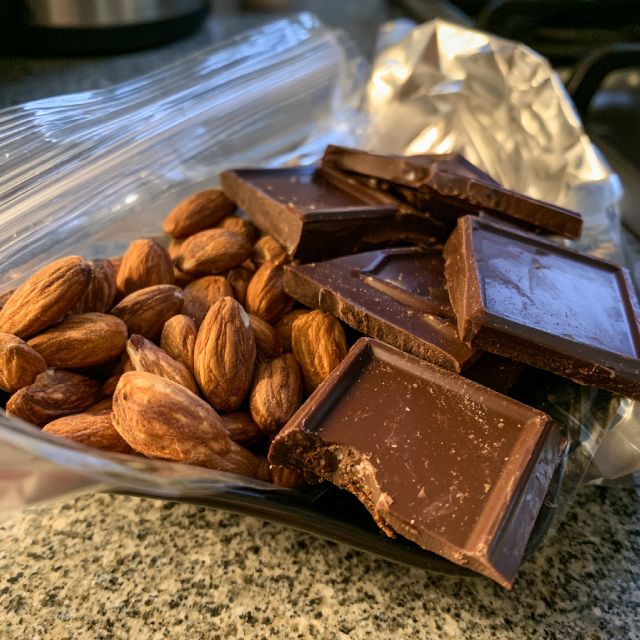
Portion a small handful of almonds with a couple squares of dark chocolate into little bags, its simple and it works. If you’re somewhere hot, pick chocolate with a higher cocoa content, it holds up better against warmth.
Storage: Room temperature, weeks if kept somewhere cool.
Travels: Great except in serious heat, chocolate melts, that’s just physics.
Freezer-Friendly, Make Once Eat All Month
These are the snacks worth doubling. Make a big batch once and you’re covered for weeks, not just the week.
25. Frozen Grapes
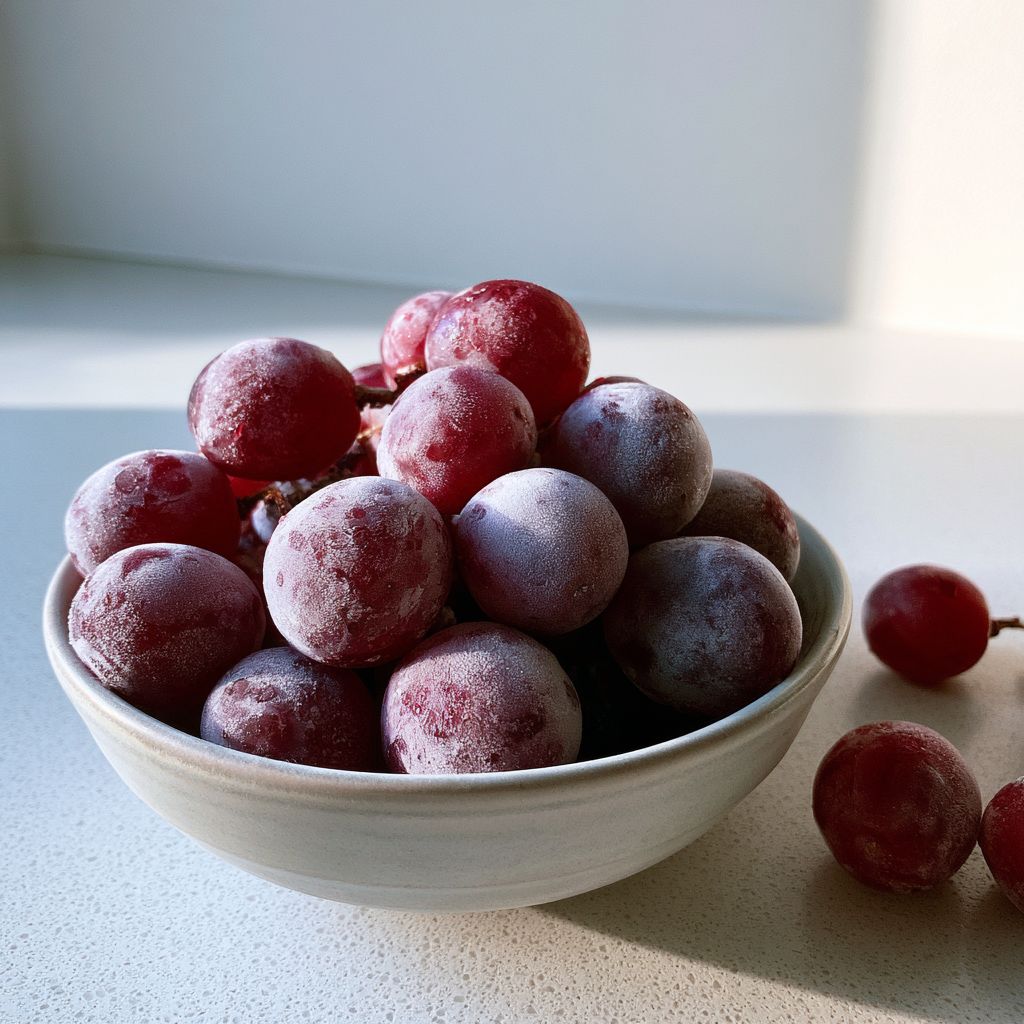
Wash grapes, dry them, freeze them on a tray so they don’t clump, then move them to a bag. They turn into little bites of sorbet and I genuinely think this is the easiest thing on the entire list.
Storage: Freezer, about 3 months.
Travels: They’ll thaw within an hour outside the freezer, pack with an ice pack for longer outings.
26. Smoothie Freezer Packs
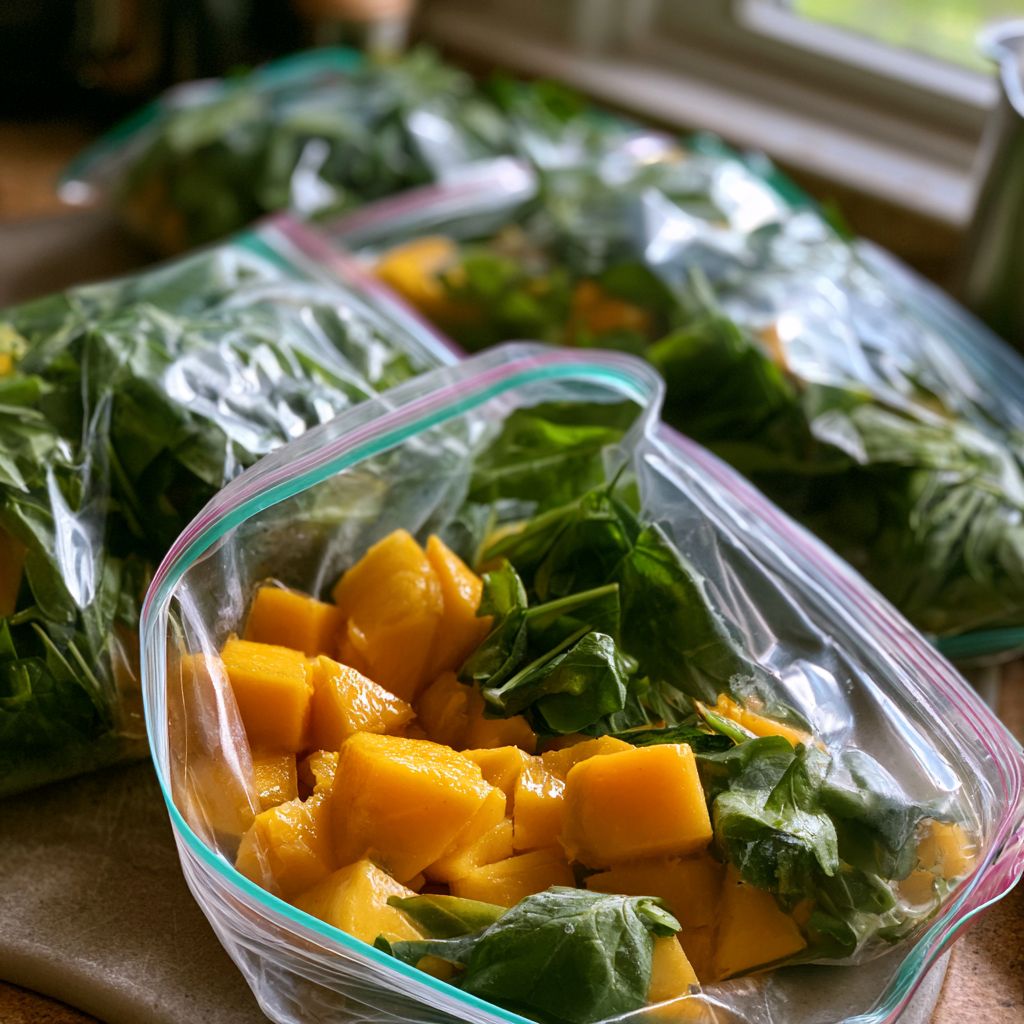
Prep: 15 minutes
Makes: 4 packs
Per bag:
- 1 cup chopped fruit (banana, mango, or berries)
- 1/2 cup chopped spinach or kale
- 1 tablespoon chia seeds or a scoop of protein powder (optional)
Portion each combination into a quart-size freezer bag, press out as much air as possible, and lay flat to freeze. When ready to blend, dump one bag into a blender with about 1 cup of milk or liquid of choice and blend until smooth.
Storage: Freezer, 3 months.
Travels: Blend right before you head out and pour it into an insulated cup, it stays cold for hours.
27. Frozen Yogurt Bark
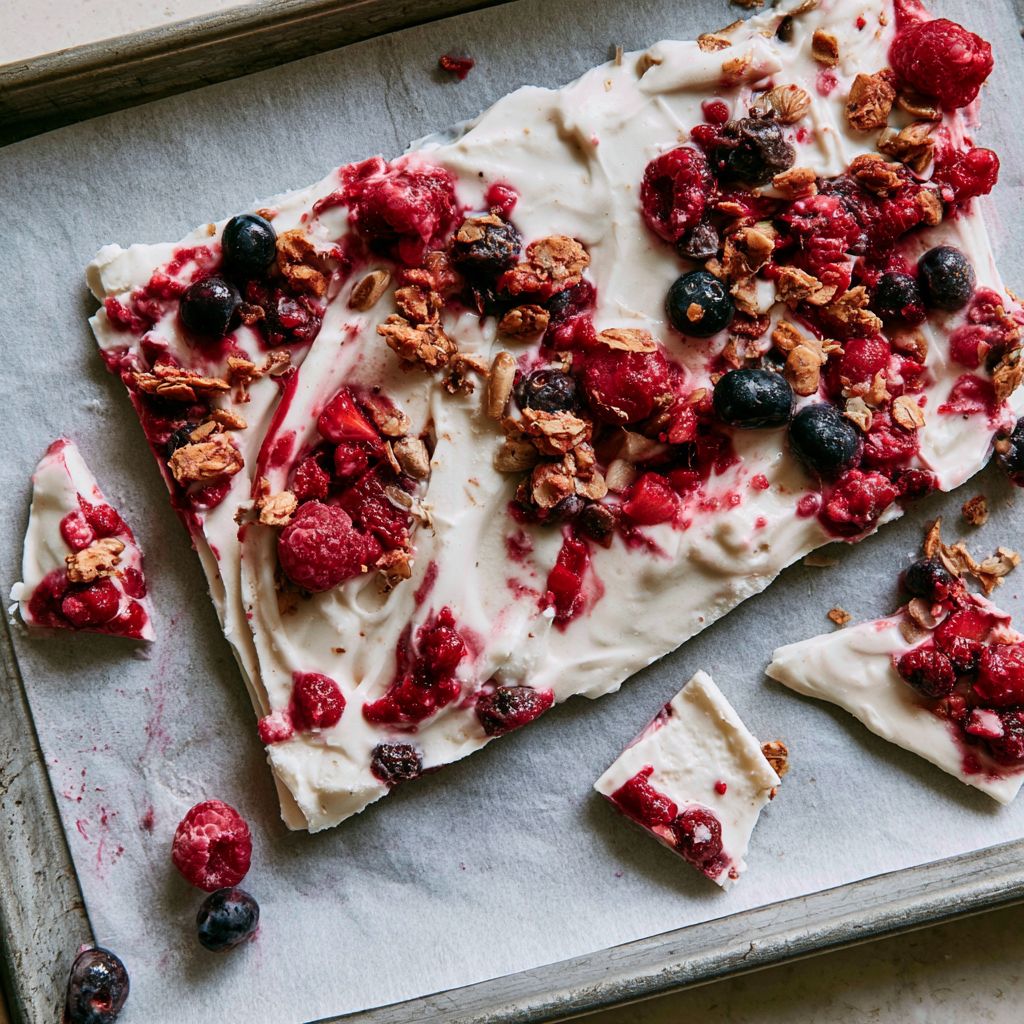
Prep: 10 minutes
Freeze: 3 hours
Makes: 1 tray, breaks into about 12 pieces
- 2 cups plain or vanilla Greek yogurt
- 2 tablespoons honey
- 1 cup mixed toppings (berries, granola, mini chocolate chips)
Stir the honey into the yogurt. Spread it in an even layer, about 1/4 inch thick, on a parchment-lined baking sheet. Scatter the toppings evenly over the top and press them in very lightly so they don’t fall off once frozen. Freeze flat for at least 3 hours, until solid. Break into pieces and store in a bag or container in the freezer.
Storage: Freezer, in a bag or container, about a month.
Travels: Eat it within 10 or 15 minutes of leaving the freezer or it gets messy fast.
28. Freezer Breakfast Cookies
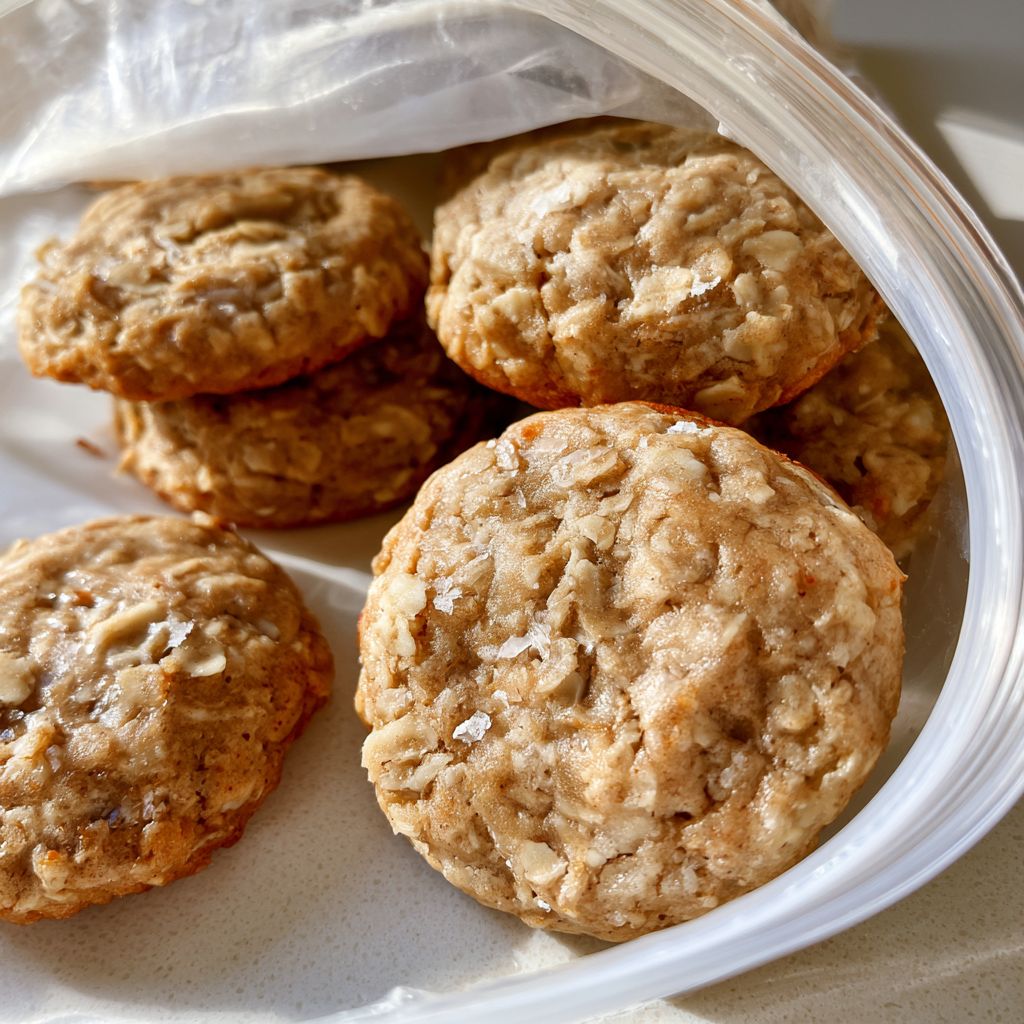
Make a double batch of the banana oat cookies from earlier and freeze half. They thaw fast on the counter or you can toss one straight into a lunchbox and it’ll be ready by lunch.
Storage: Freezer, about 2 months.
Travels: Pack frozen, works like a built in ice pack for the rest of the lunchbox too.
29. Frozen Banana Bites
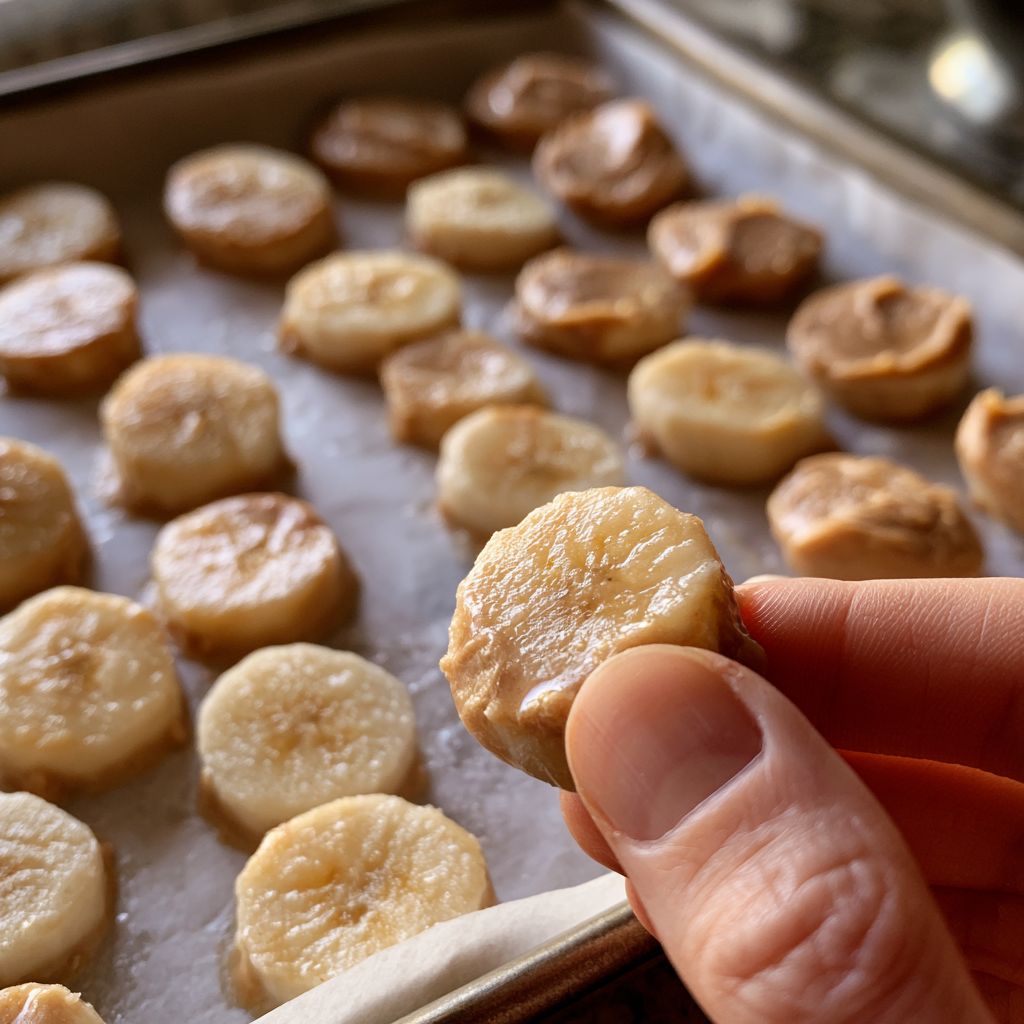
Prep: 15 minutes
Freeze: 2 hours
Makes: about 20 bites
- 2 bananas, sliced into 1/2 inch rounds
- 1/3 cup nut butter or Greek yogurt, melted or thinned slightly if using nut butter
- Optional: crushed nuts or mini chocolate chips for topping
Lay the banana slices on a parchment-lined tray. Dip or spoon a small amount of nut butter or yogurt onto each slice, about 1/2 teaspoon per piece, more than that and they get too messy to hold. Add toppings if using while the dip is still wet. Freeze flat for at least 2 hours before transferring to a bag.
Storage: Freezer, about a month.
Travels: Best eaten close to home, they thaw and go soft within 20 minutes or so. These are not a ‘pack and go’ snack.
30. Big-Batch Mini Muffins for the Freezer
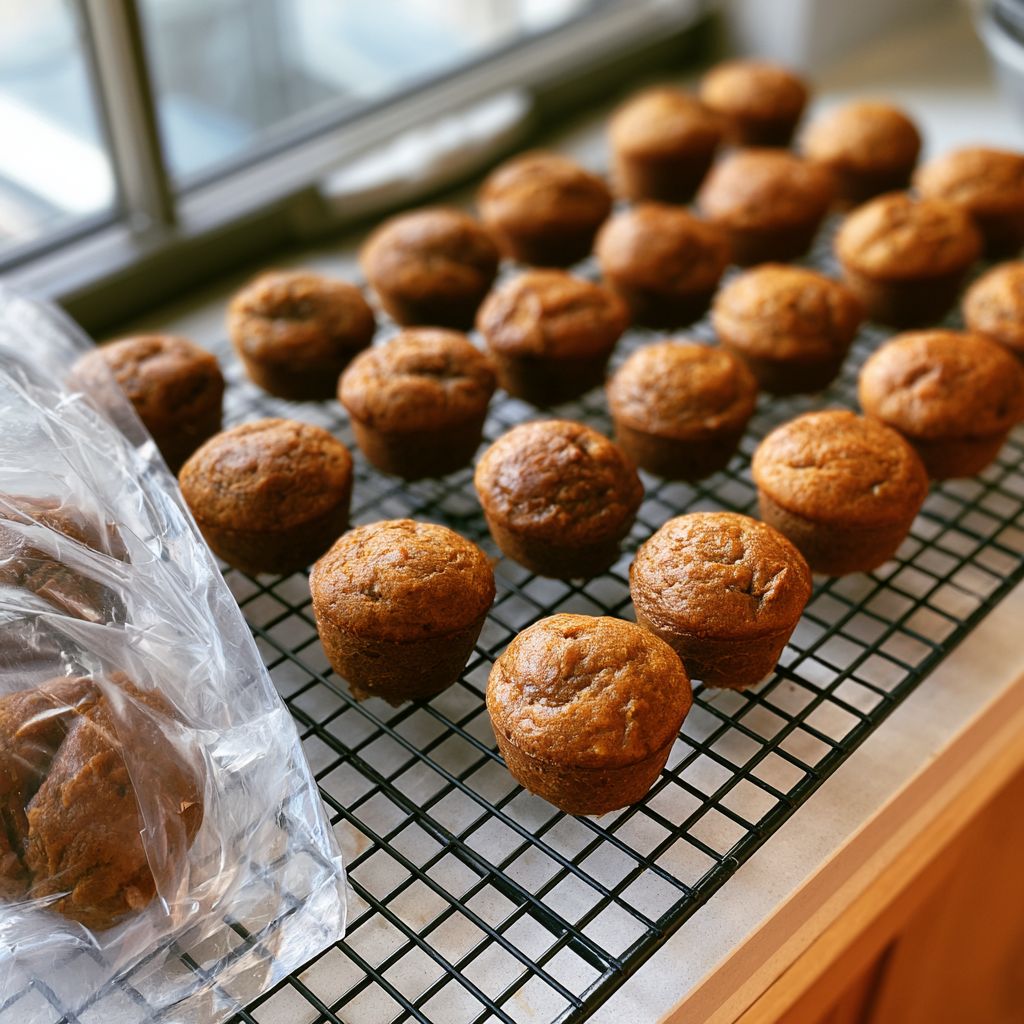
Whatever muffin recipe you like, double it, and freeze half in a bag with the air pressed out. Grab one the night before or just toss it frozen into a lunchbox in the morning, it’ll thaw by snack time.
Storage: Freezer, up to 3 months.
Travels: Doesn’t leak or crumble, one of the easiest freezer-to-bag snacks there is.
The One Recipe You Should Actually Print: No-Bake Energy Bites
This is the one I make almost every single week, it takes about 10 minutes and it’s the snack that survives the bag test better then anything else on this list.
| Prep Time | 10 minutes |
| Chill Time | 20 minutes |
| Makes | About 16 bites |
Ingredients
1 cup rolled oats
1/2 cup peanut butter (or any nut butter you like)
1/3 cup honey
1/4 cup mini chocolate chips
1 tablespoon chia seeds (this one’s optional but I like the crunch)
Pinch of salt
Instructions
1. Stir the oats, peanut butter, honey, chocolate chips, chia seeds, and salt together in a bowl until it all holds together.
2. If the mix feels too wet to roll, add a spoon more oats, if it feels too dry, add a small splash of water or an extra spoon of nut butter.
3. Roll into balls about 1 inch across, you should get around 16 if your hands are similar to mine.
4. Chill in the fridge for 20 minutes so they firm up before you pack them.
5. Store in an airtight container in the fridge for up to a week, or freeze them for up to 2 months.
How far ahead can you meal prep snacks?
Most fresh items like egg muffins or roll-ups are best within 4 to 5 days. Anything you freeze can go 2 to 3 months, which is why I try to double a recipe and freeze half whenever I remember to.
What snacks don’t need refrigeration?
Trail mix, roasted chickpeas, popcorn, granola bars, and dark chocolate with almonds all sit fine at room temperature for days. These are your best bets for a bag that sits in a hot car or a school locker all day.
How do you keep meal prep snacks from getting soggy?
Pack wet and dry parts separate, always. Crackers away from dip, granola away from yogurt, banana away from the peanut butter until right before you eat. It’s a small step but it’s the difference between a snack and a science project.
Sweet or Savory, which keeps you fuller longer?
Savory snacks with protein, think eggs, chickpeas, or cottage cheese, tend to hold you over longer then a sweet snack alone does. That doesn’t mean skip the sweet stuff, just try pairing it with something savory if you know it’s going to be a long stretch until your next meal.
And that’s the list, 30 snacks and one recipe worth printing. Pick a few from each section, keep your bag stocked, and you’ll never be stuck with gravel granola bars again. If you make the energy bites, let me know in the comments how yours turned out.